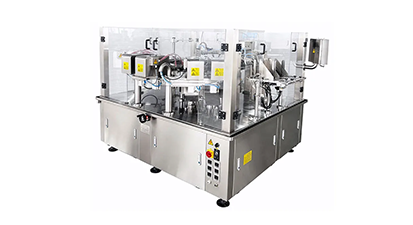
Last month, a production manager in Ohio watched his Saturday shift grind to a halt. A worn vacuum belt on his bagging line tore at 2 AM, and by the time he found a replacement, 11 hours of runtime were lost. The cost? Nearly $15,000 in missed orders plus angry customer emails.
The painful truth is that most pouch packing stoppages are preventable. Yet 68% of small to mid-size packers operate with “run-to-fail” maintenance – reacting only when smoke appears. A structured preventive maintenance schedule changes everything. It cuts unplanned downtime by up to 40% and extends machinery life by years.
Pouch packing involves multiple synchronized motions: film feeding, sealing jaw temperature control, filling precision, and cut-off timing. Unlike rigid container lines, pouches are flexible – misalignment of just 2 mm can cause leaks or wrinkled seals.
Without a regular PM schedule, you risk:
Seal quality drift – leading to product recalls
Premature bearing wear – causing jaw misalignment
Sensor fogging or dust buildup – triggering false stops
Belt stretch – misplacing pouches during indexing
A disciplined maintenance routine addresses these before they become emergencies. For operators using automated pouch packing systems, learn about advanced equipment design features that simplify maintenance access.
Based on field data from 23 packaging lines and OEM guidelines, here is a practical PM schedule you can implement next Monday.
These are visual and auditory inspections that need zero tools.
| Component | Action | Warning Sign |
|---|---|---|
| Sealing jaws | Wipe with a dry cloth; inspect for residue | Dark streaks on the pouch seal area |
| Film path | Remove dust from the dancer roller bearings | Uneven film tension noise |
| Photoelectric sensors | Blow with compressed air | Intermittent no-pouch detection |
| Discharge conveyor | Check belt tracking | Belt rubbing against the guard |
Document: Log any abnormality on the PM board. If a sensor needs recalibration twice a week, that indicates a root cause.
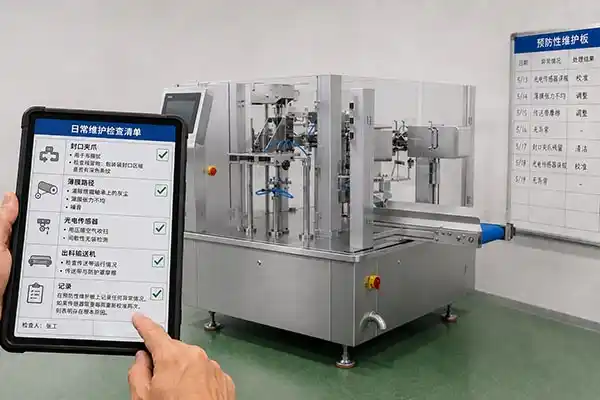
Go beyond surface cleaning. Focus on wear parts that see repetitive motion.
Sealing jaw alignment: Close jaws with a piece of thermal paper. If pressure marks are uneven, adjust the parallel linkage. This is the 1 cause of leaks.
Vacuum belt condition: Run your hand along the belt edge. Replace if frayed or if the lacing hook shows wear. A broken belt at 3 AM costs 10x the belt price.
Lubrication points: Grease all zerk fittings using food-grade grease. Under-lubrication causes 30% of bearing failures.
Air filter cleaning: On the control cabinet and any cooling fans. Dust buildup raises internal temperature, shortening electronics' life.
Pro tip: Create a small tool kit dedicated to weekly PM – thermal paper, grease gun, Allen keys, and a flashlight. This reduces the “setup time excuse.”
Monthly is when you verify critical tolerances.
Seal temperature calibration: Use a contact thermometer against the jaw surface. The PID controller reading should be within ±3°C. Miscalibration leads to either burnt film or weak seals.
Timing belt tension: Check the drive belt connecting the main motor to the rotary indexing shaft. Deflection should be 5-7 mm under moderate finger pressure. Loose belts cause indexing lag – pouches stop partially open.
Emergency stop test: Activate each e-stop button while the machine runs at slow speed. Confirm immediate stop. This is both safety and compliance.
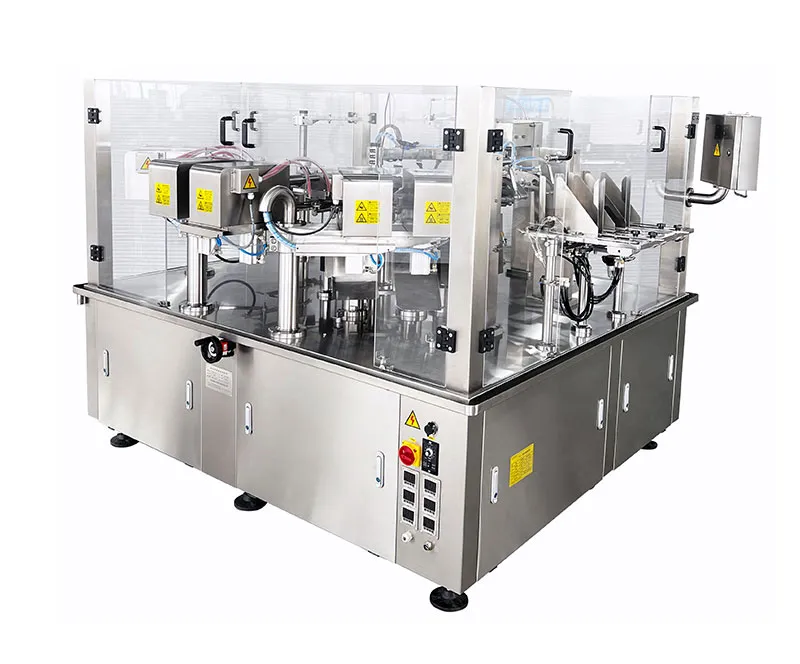
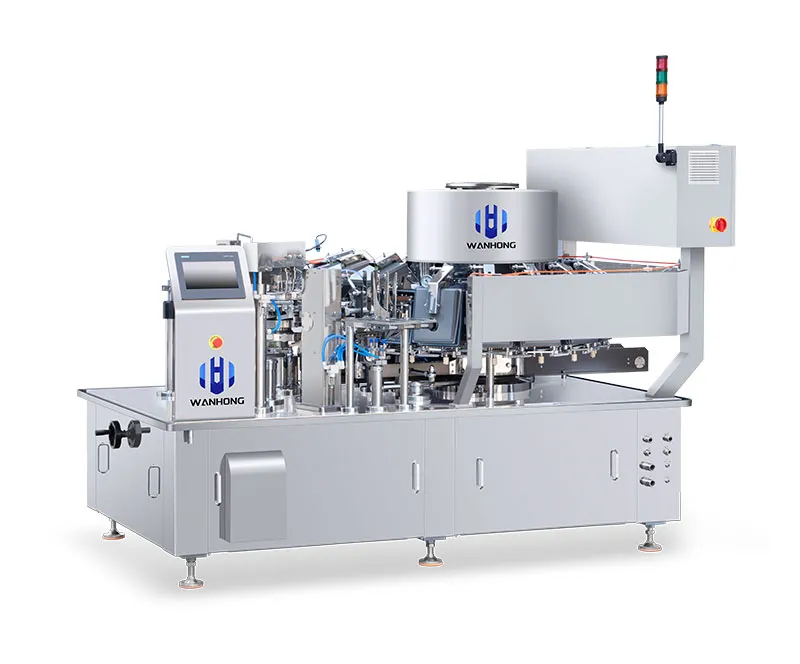
Check for loose fasteners: On a rotary premade pouch packing machine, the carousel bolts experience constant vibration. Torque them to spec. (Note: this type of equipment benefits greatly from a PM schedule; check the latest models with easy-access component layouts.)
These are deeper inspections that require partial disassembly.
Replace wear parts proactively: Sealing jaw teflon tape, cut-off knife blades, vacuum generator filter elements. Keep a spare kit.
Bearing check on main shaft: Listen for grinding or roughness while rotating manually. Replace if any radial play is detected.
Electrical terminal tightening: Loose connections cause voltage drops and erratic servo behavior. Use a torque screwdriver.
Software backup: Export all recipe parameters to an external USB. Lost settings mean hours of re-teaching.
Even with a schedule, many packers fall into these traps.
Mistake #1: Using general-purpose grease near food zones.
Ordinary grease can migrate and contaminate the product. Always specify NSF H1 food-grade lubricants for any component above the pouch sealing area.
Mistake #2: Over-tightening timing belts.
Excess tension kills bearings and stretches belts faster. Use a tension gauge or the “longest span deflection” method – 1/64″ per inch of span.
Mistake #3: Ignoring the “minor stops” log.
If a machine stops 15 times per shift for “film out” but the film roll isn’t empty, that’s a sensor sensitivity issue. Track patterns weekly, not just breakdowns.
The next level is adding condition monitoring. Vibration sensors on the main bearing and thermal cameras on sealing jaws can predict failures 2-3 weeks in advance. For most small to medium packers, the ROI of full predictive is still 18-24 months. But you can start cheaply: use a stethoscope and an infrared thermometer monthly.
Print the daily checklist and tape it near the machine’s HMI.
Assign each shift a 15-minute PM block.
Order spare wear parts for the next quarter – don’t wait for failure.
Train operators on what abnormal sounds mean.
A structured PM schedule turns your pouch packing line from a liability into a predictable asset. The cost of ignoring it is measured in rushed weekend repairs and missed delivery dates.
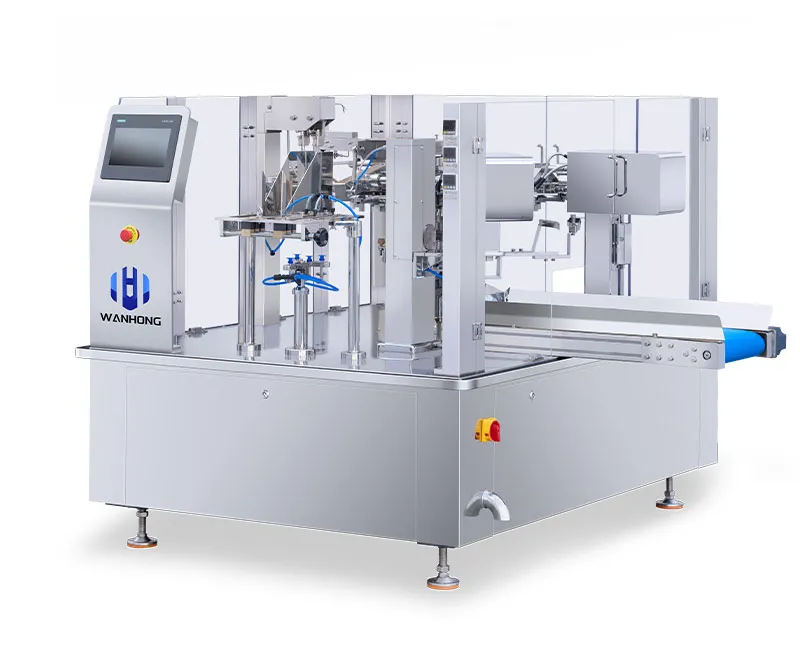
If you want equipment designed to make preventive maintenance effortless – with tool-less jaw changes, color-coded lubrication points, and remote diagnostics –explore Wanhong’s pouch packing solutions. Many users report cutting their weekly PM time from 90 minutes to just 35 minutes after switching to a modern platform.

Disclaimer: Maintenance intervals may vary based on runtime hours, product type, and environmental conditions. Always refer to your specific equipment manual for torque specs and lubrication types.
Note: The images in this article are for reference only.


bags/min
g
mm
bags/min
g
mm
bags/min
g
mm


 中文
中文 English
 Pусский
 Français
 Español